Xnat Utils
Logging in and saving credentials
Before we start the tutorial notebook we need to login and save our credentials. You are prompted to do this the first time you use any of the utilities, but the interactive prompt doesn’t work inside a notebook, so we need to run it first outside.
Open up a terminal, either within your desktop environment (Applications/System Tools/MATE Terminal)
or directly from your computer using RONIN link and run the command xnat-ls and
it will ask you for the server address you want to connect and your login credentials.
We will use the host address http://localhost:8080 but typically you will enter your
institutional AIS address here (e.g. https://xnat.sydney.edu.au)
ubuntu@ip-10-0-5-248:~ $ xnat-ls
XNAT server hostname (e.g. xnat.sydney.edu.au): http://localhost:8080
XNAT username for 'http://localhost:8080': admin
Password:
This will login to your XNAT instance, create a user token and save it in your home
directory in the ~/.netrc file, which will look something like this.
machine localhost:8080
user 039af9e4-9dbd-4e5a-9bdd-d54a25077fa2
password lTG1UcRsQDCffoSjc7slfnYDTBAiIhV5LQmaKxIrKxFqTYk33ZHB4gKNjSmsdvdl
This token will be valid 2 days and provides full access to your XNAT account, so make sure to keep it secure when using your institutional account. After the 2 days has lapsed you will be prompted to enter your credentials again.
Launching Jupyter notebook
Open a terminal on your CVL instance using a direct terminal connection from RONIN link and type the following line to launch a test XNAT instance on your CVL machine.
ubuntu@ip-10-0-5-248:~ $ jupyter notebook

  _   _          _      _
 | | | |_ __  __| |__ _| |_ ___
 | |_| | '_ \/ _` / _` |  _/ -_)
  \___/| .__/\__,_\__,_|\__\___|
       |_|

Read the migration plan to Notebook 7 to learn about the new features and the actions to take if you are using extensions.

https://jupyter-notebook.readthedocs.io/en/latest/migrate_to_notebook7.html

Please note that updating to Notebook 7 might break some of your extensions.

[I 18:52:58.654 NotebookApp] Serving notebooks from local directory: /home/ubuntu
[I 18:52:58.654 NotebookApp] Jupyter Notebook 6.5.3 is running at:
[I 18:52:58.655 NotebookApp] http://localhost:8888/?token=76d3d8582bec992544edf0b39fc6689dff87e207e51f9d2f
[I 18:52:58.655 NotebookApp]  or http://127.0.0.1:8888/?token=76d3d8582bec992544edf0b39fc6689dff87e207e51f9d2f
[I 18:52:58.655 NotebookApp] Use Control-C to stop this server and shut down all kernels (twice to skip confirmation).
[C 18:52:58.680 NotebookApp]

    To access the notebook, open this file in a browser:
        file:///home/ubuntu/.local/share/jupyter/runtime/nbserver-17728-open.html
    Or copy and paste one of these URLs:
        http://localhost:8888/?token=76d3d8582bec992544edf0b39fc6689dff87e207e51f9d2f
     or http://127.0.0.1:8888/?token=76d3d8582bec992544edf0b39fc6689dff87e207e
The Jupyter notebook will launch on the 8888 port of the CVL host, i.e. http://localhost:8888, and should open a firefox window showing it
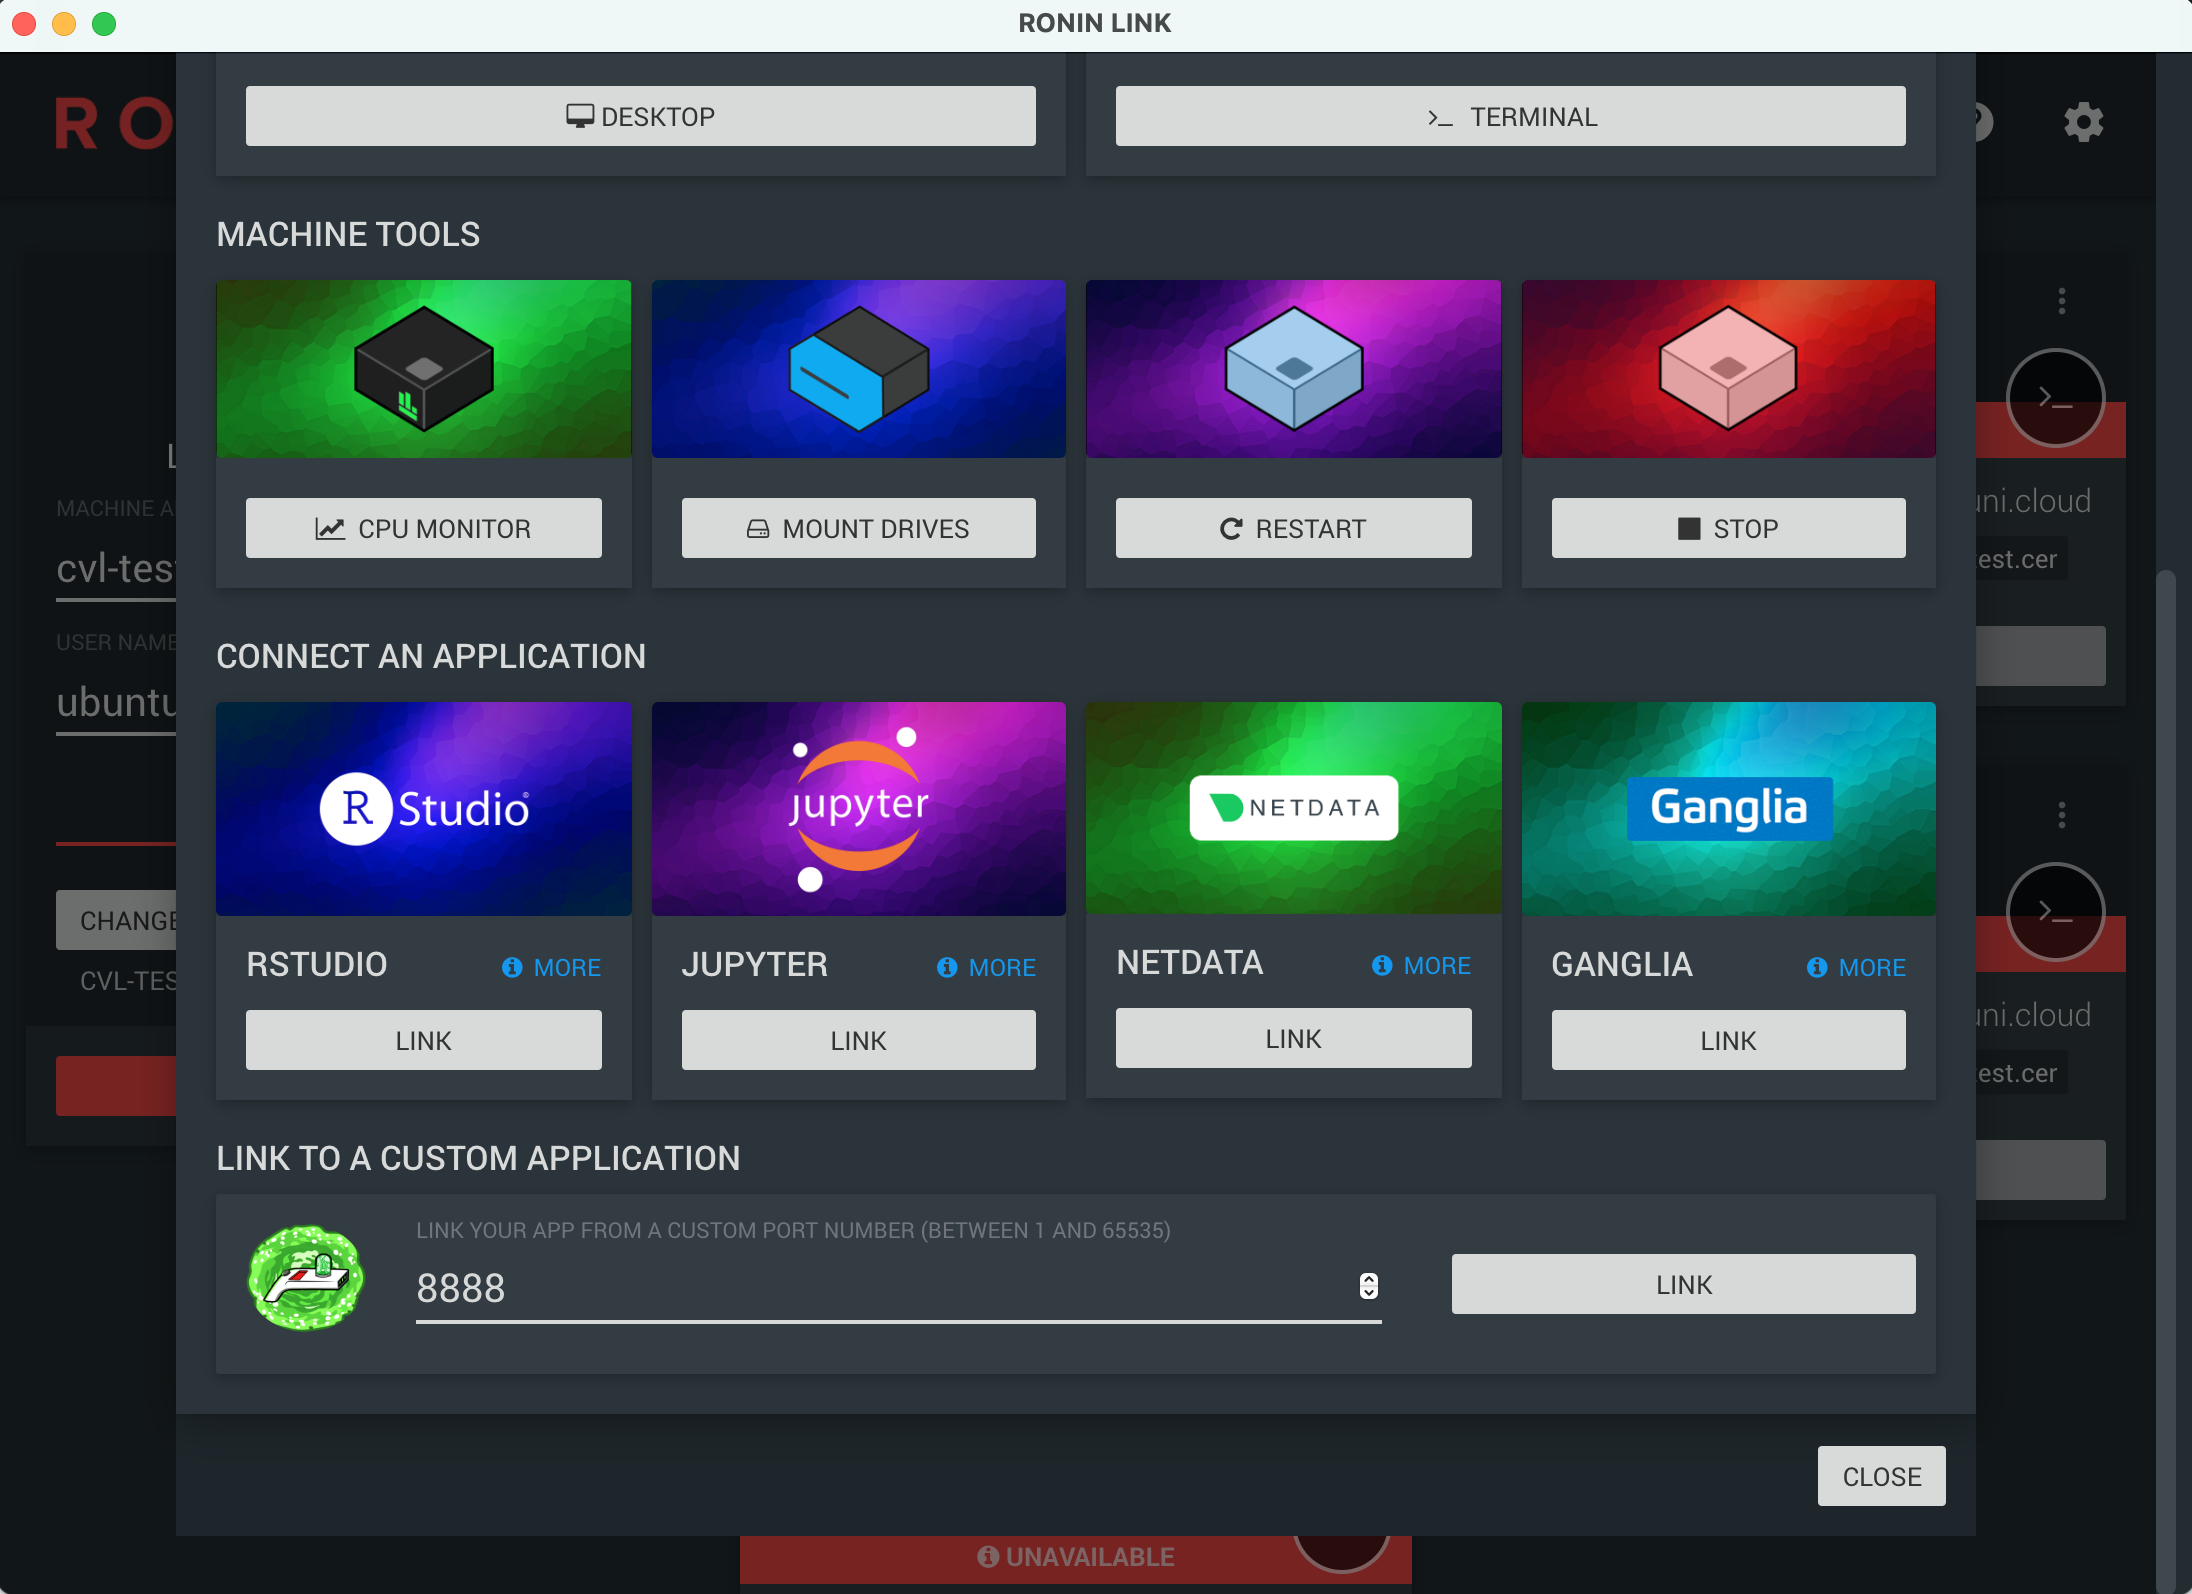
Accessing the test XNAT instance directly via RONIN link
Just like with the test XNAT instance you can use the port forwarding feature of RONIN link to access the notebook in the browser of your local machine.
Select CONNECT TO MACHINE from RONIN link under your instance and then enter the 8888
port number under LINK TO A CUSTOM APPLICATION and press LINK.
This should map 8888 on the CVL desktop to 8888 on your local machine, so it can
be accessed from your browser at http://localhost:8888.
The JupyterHub homepage will open up and ask for a token or user name. Copy the token
string from the output in your terminal, or alternatively copy the whole
http://localhost:8888/?token=... string into your browser address bar.
Opening the Xnat-Utils tutorial
To open the Xnat-Utils tutorial, navigate to the git/cvl-training/notebooks directory
and open the notebook file called Xnat-Utils Basics.ipynb